This garden sensory bin is a fun and educational activity for little ones that stimulates all their senses with natural materials.
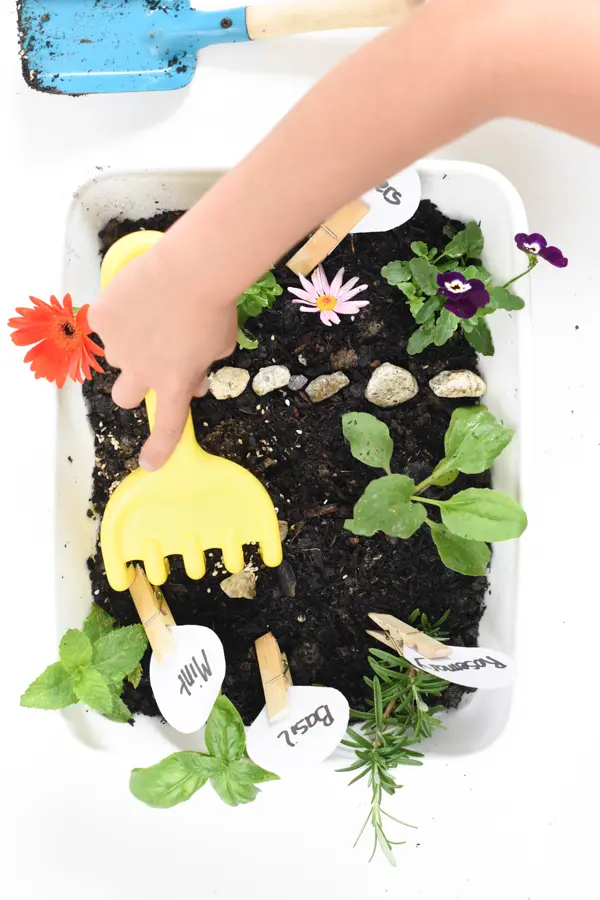
How to Make a Garden Sensory Bin
Sensory bins are a great way to develop your kid’s sensory play at any age and it’s also a great STEM project for older kids from 6-8 years old. You can adapt this project to your kid’s age.
Step 1: Adapt the Garden Activity by Age
- 2- 4 years old – for smaller kids from 2-4 years old, you can use pretend seeds from your kitchen like sesame seeds or any flower or piece of green you picked from outside. The sensory play is about digging the soil, touching natural elements, and creating mud with water and soil. Provide tools like a rake, spade, and watering can. It is the perfect way to introduce toddlers to nature and natural components from their outside world!
- 4-8 years old – turn this garden sensory bin into a miniature garden for their bedroom. Older kids really have the patience to plant and wait to see their plants grow. They love the idea of a mini garden in their bedroom that they water every day, nurture, and watch. Therefore using real flower seeds or replanting herbs with roots is the best.
Step 2: Pick a Bin
If you are doing this project for big kids and creating miniature garden sensory bins, then use a bin that plant will love! So, to make sure the flowers, herbs, or plants you put in the ground in your bins grow happily, choose a ceramic bin or a garden pot.
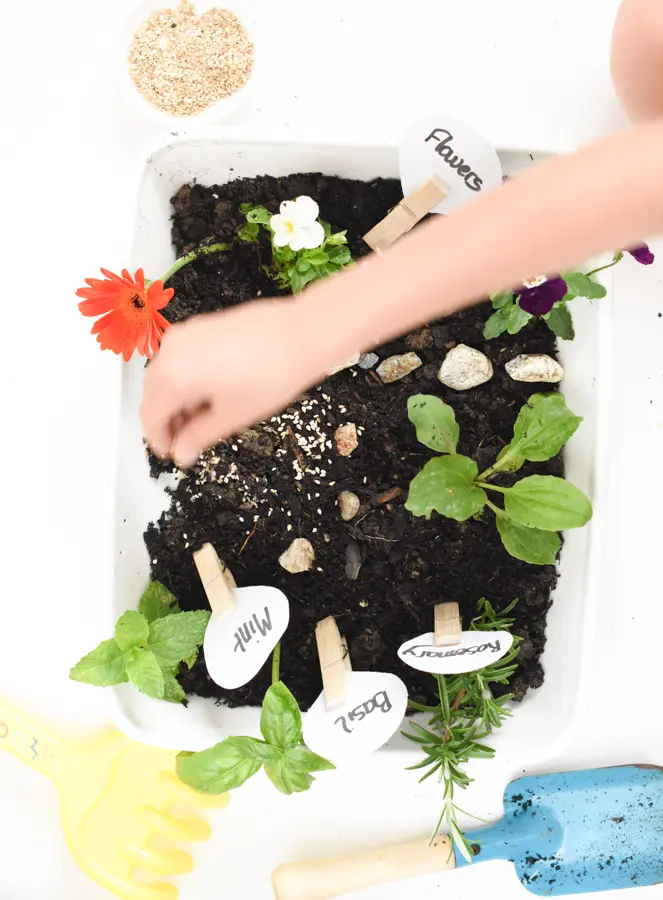
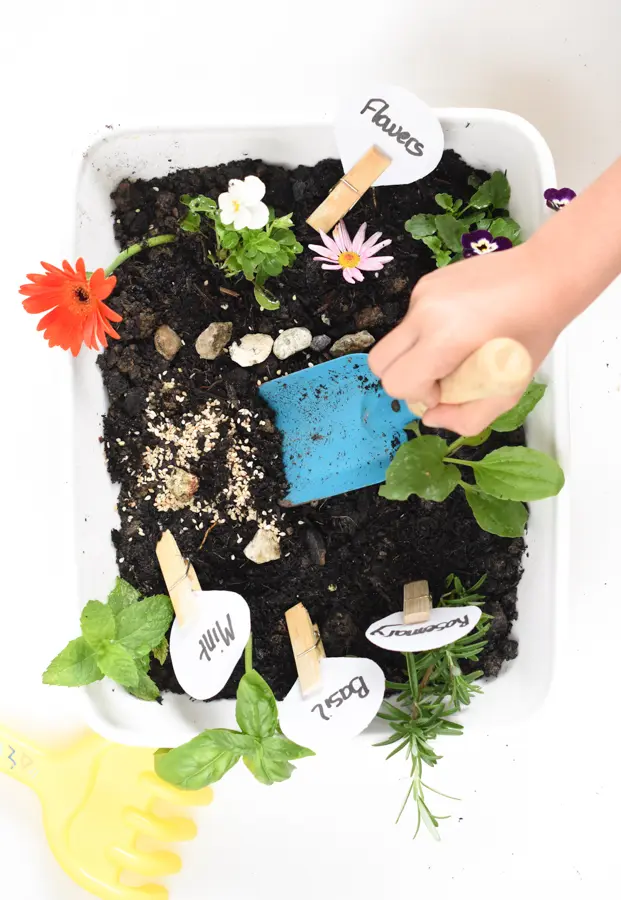
For example, you can reuse an old glass or ceramic dish from the kitchen as in my picture below. For small kids, you can use any plastic bin with high borders to avoid the mess. The taller the bin is, the less mess you will get!
Step 3: Add Potting Soil
You can use potting soil form a bag. It is the best option if you really want to make a kid miniature garden. Or you can use any soil from outside for smaller kids but it might not provide enough nutrients for the flower to grow.
Ask your little one to cover the bottom of the bin with soil, press it with their fingers. and really get involved. Kids love being messy and they adore the cold, muddy feeling of soil. Provide tools to your kids to be little gardeners, I use their beach tools spade, rake, and watering can.
Step 4: Create Areas and Add Plants
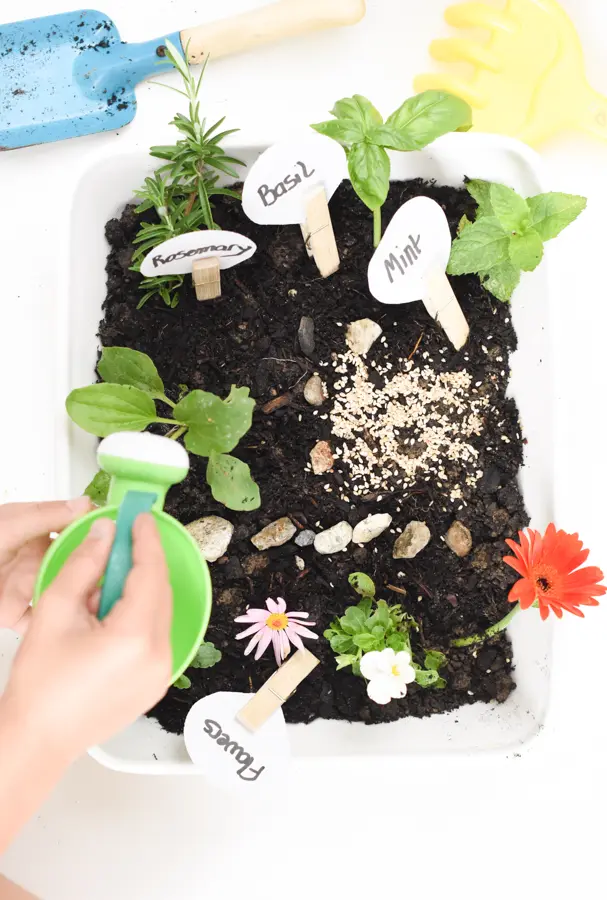
We used small rocks to separate areas in the bins, like in a real life garden. So you can have three or more spaces to plant things like:
- Aromatic herbs – buy some potted herbs from the grocery store and give your kids some to plant in their garden. We added basilic, rosemary, and mint. If you really want these to regrow in their bin, keep their roots!
- Flowers – to make a flower garden sensory bin, you can use flowers from your garden or pot flowers. Daisies are the easiest flowers to grow by kids, but any flower they love is great to plant!
- Seeds to grow – vegetable seeds, flower seeds, or pretend seeds for small kids – pick some from your pantry like sesame seed or even rice!
Step 5: Create Signs
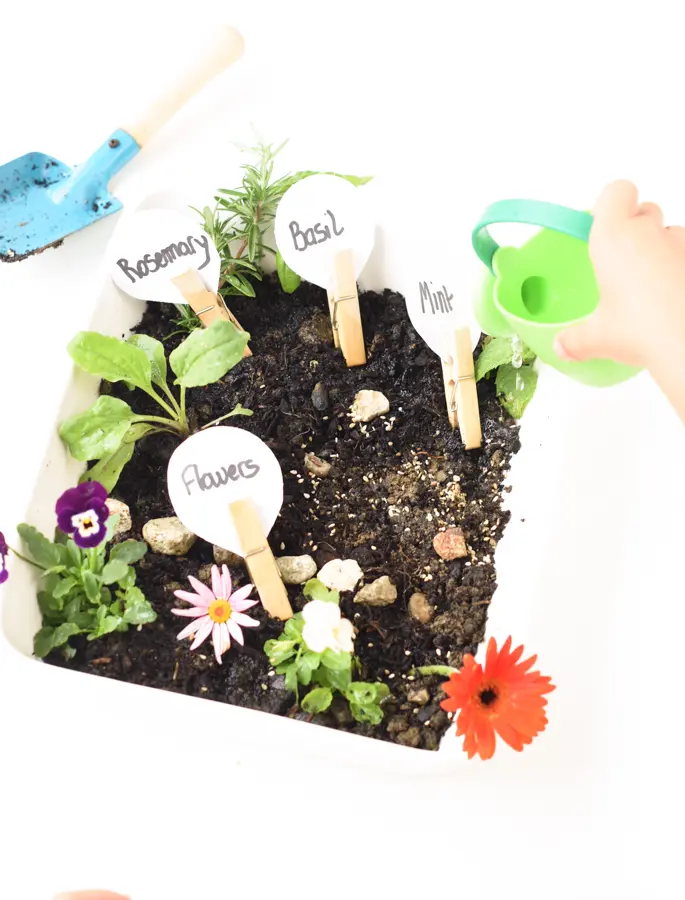
I created this garden sensory bin with my 8-year-old and as an extra learning activity, we made some plant signs. She used wooden clothespins to clip pieces of paper on it. We wrote the name of each herb and flower on it and then dig it into the soil.
How to Involve Kids
Ask your kids to do some of the things below to get involved:
- Dig the soil
- Water the plant
- Plant seeds
Did you enjoy this sensory activity with your kids? Leave me a comment a message below to tell me how your kids played with it! I would love to connect with you!
