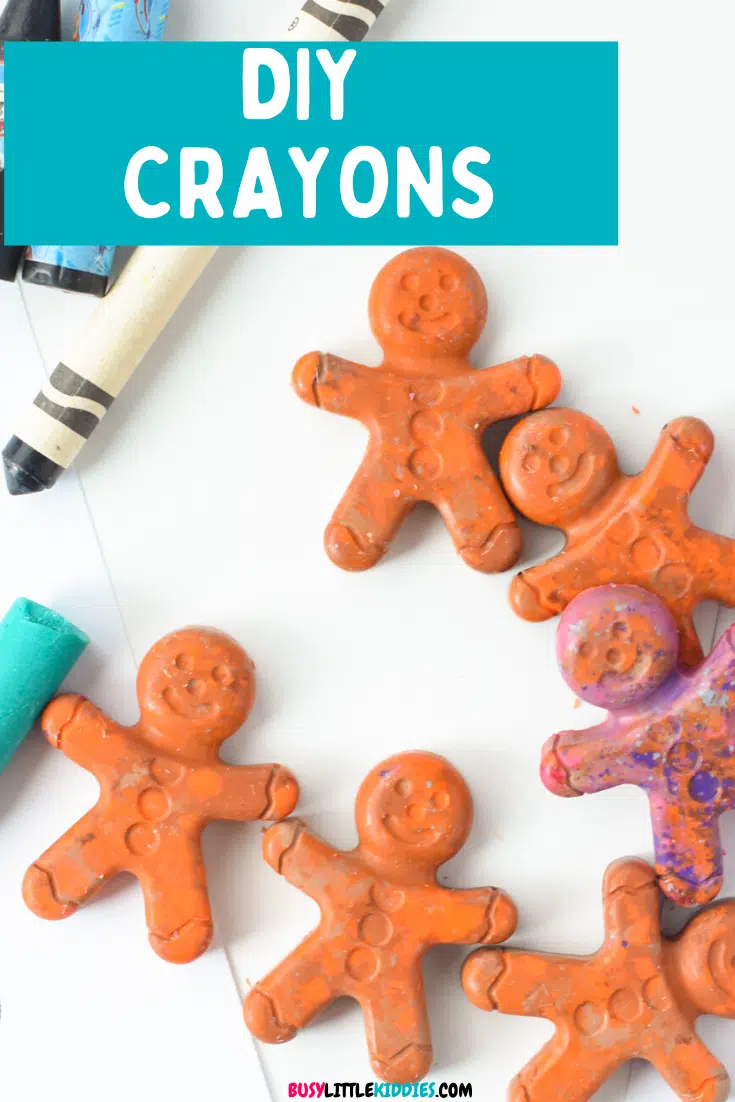
These DIY Crayons are such a fun kid’s craft activity that recycles old crayons into new ones! It’s a great science experiment to learn about solid and liquid but also recycle unwanted crayons!
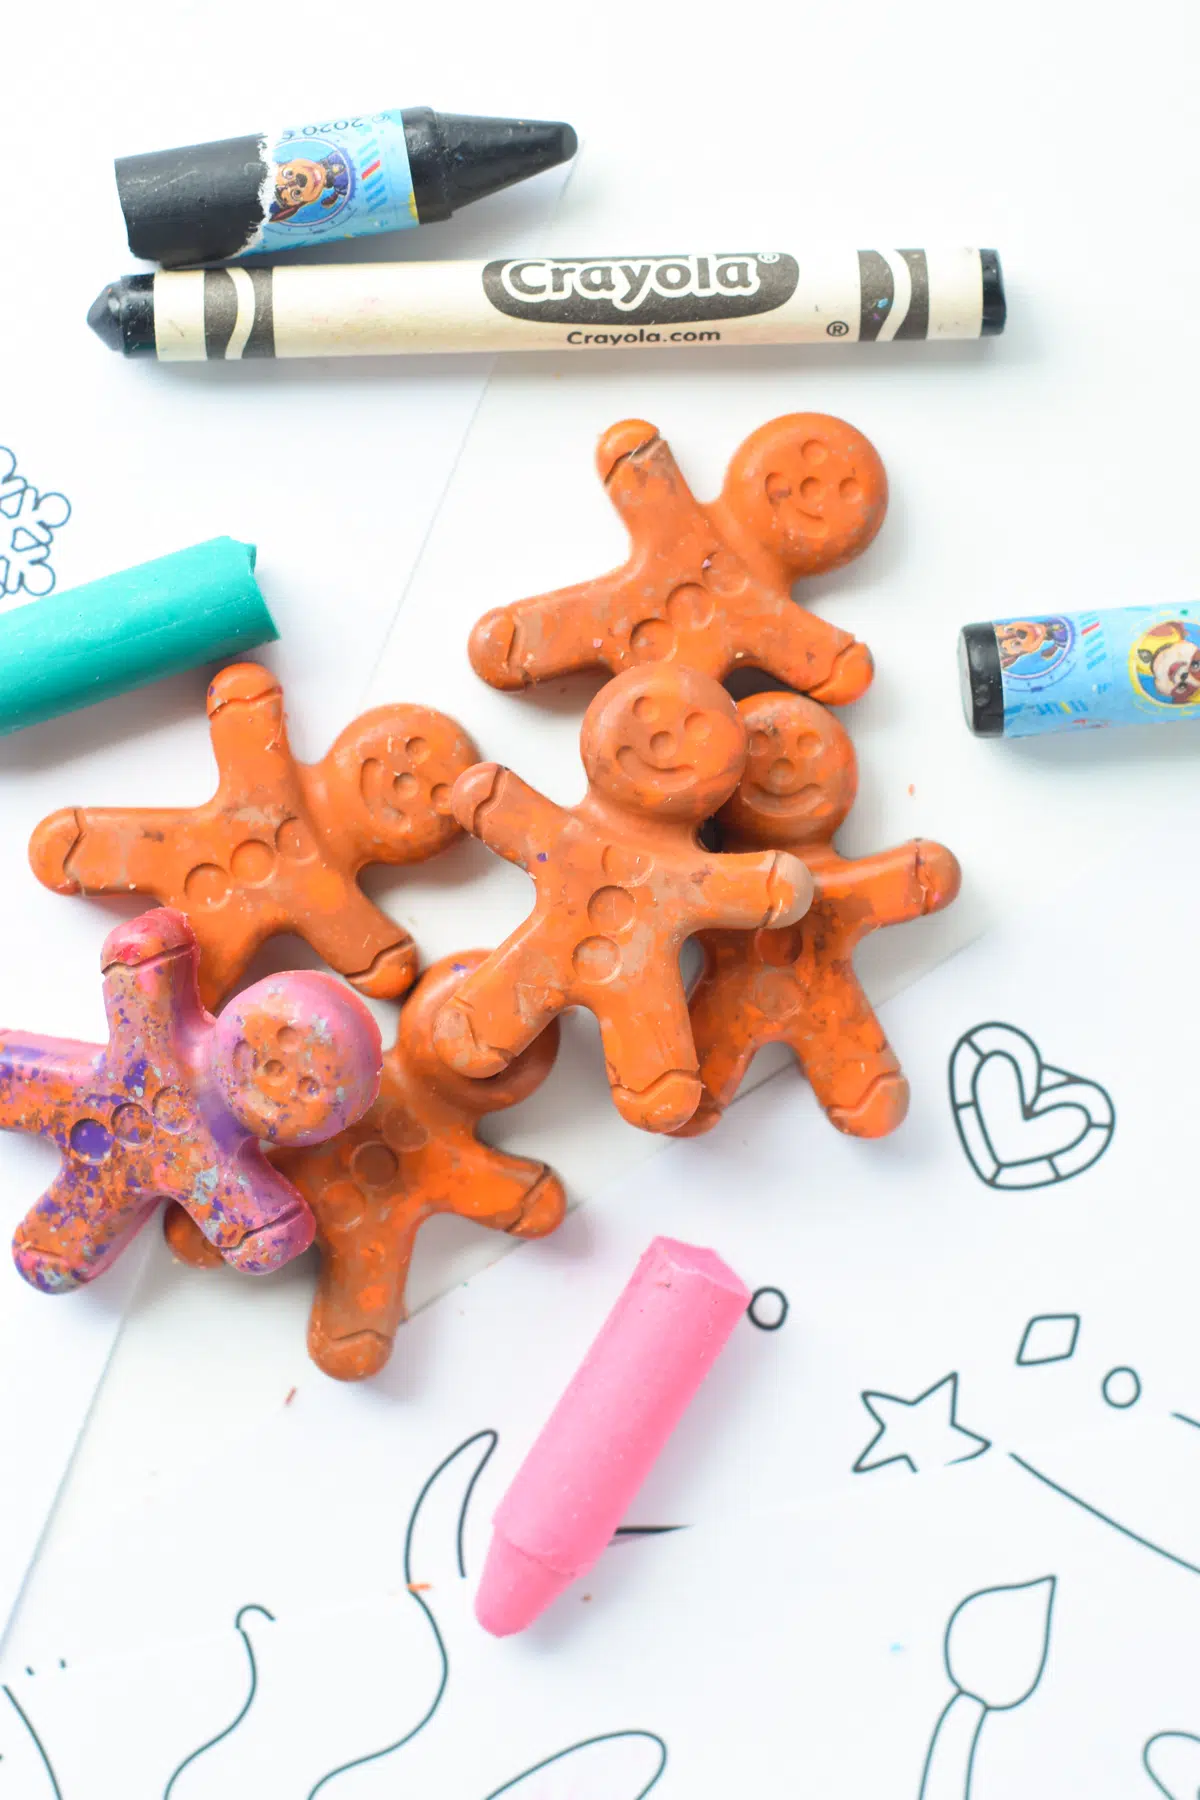
This homemade crayon initiative is a great way to teach kids about :
- Science – solids and liquid as the wax melt and solidify as it cool down
- Environment – recycling old stuff and create new ones in less than 30 minutes!
So let’s gather all your old Crayola crayons in the house and start this eco friendly activity!
How To Make DIY Crayons
Who doesn’t have old broken Crayola crayons at home! So this crayon activity is all about creating homemade crayons out of all ones.
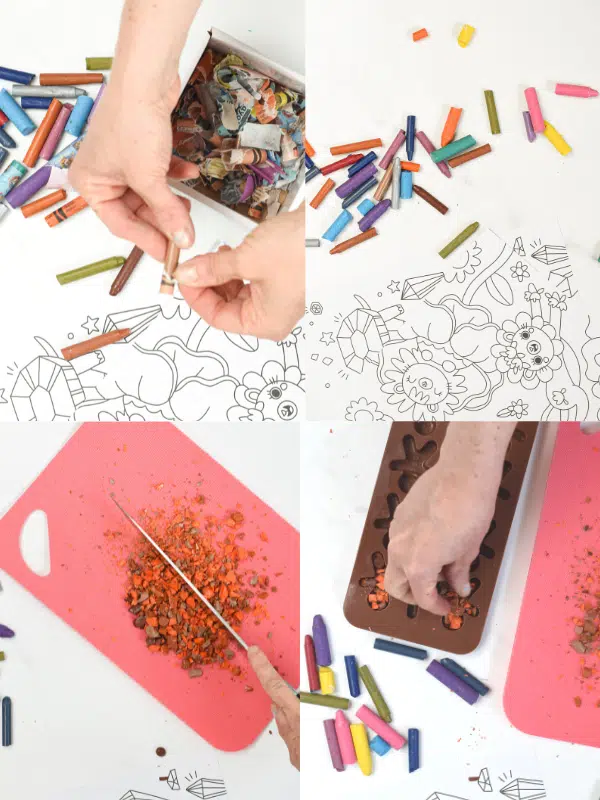
- Remove Paper – That’s the most annoying part of this activity and it requires a little bit of patience to remove all the paper from the broken crayon carefully. You can recycle the paper.
- Sort Out Colors – Now, sort out each crayon colors into small bowls. It doesn’t have to be precise, you can mix same shades as we did here with pink and purple or brown and orange.
- Break Crayons Into Small Pieces – I used a chopping board and finely chop the crayons into smaller pieces with a knife. You can also grate them with a hand grater but I found it hard to clean the hand grater after.
- Prepare Silicone Mold – Now, place the small pieces of crayons into silicone mold. Make sure you place the mold on a baking sheet or it’s difficult to bring the silicone mold in your oven.
- Bake and Melt Crayons – Place the silicone mold in the preheated oven at 130C (200F) for 30 minutes or until the crayons are completely melted. The bigger are the mold the longer it takes to melt but watch carefully and remove the mold as soon as the crayons are melted.
- Cool Down – Let the the melted crayons cool down in their silicone mold at room temperature until they are hard enough to be unmold.
Tips
- Avoid tiny silicone shapes – I noticed that small silicon mold doesn’t work very well with this activity. The crayons are hard to unmold and break into tiny crayons pieces.
- Low temperature – don’t increase oven temperature or the wax burn and the crayon lose their ability to color paper
- Cleaning – you will always have tiny pieces of crayons sticking on the mold. So after you unmold crayons, bring the mold back to the oven to melt the loose particle and use a piece of absorbent paper to remove the melted parts before it harden quickly
How To Use Recycled Crayons
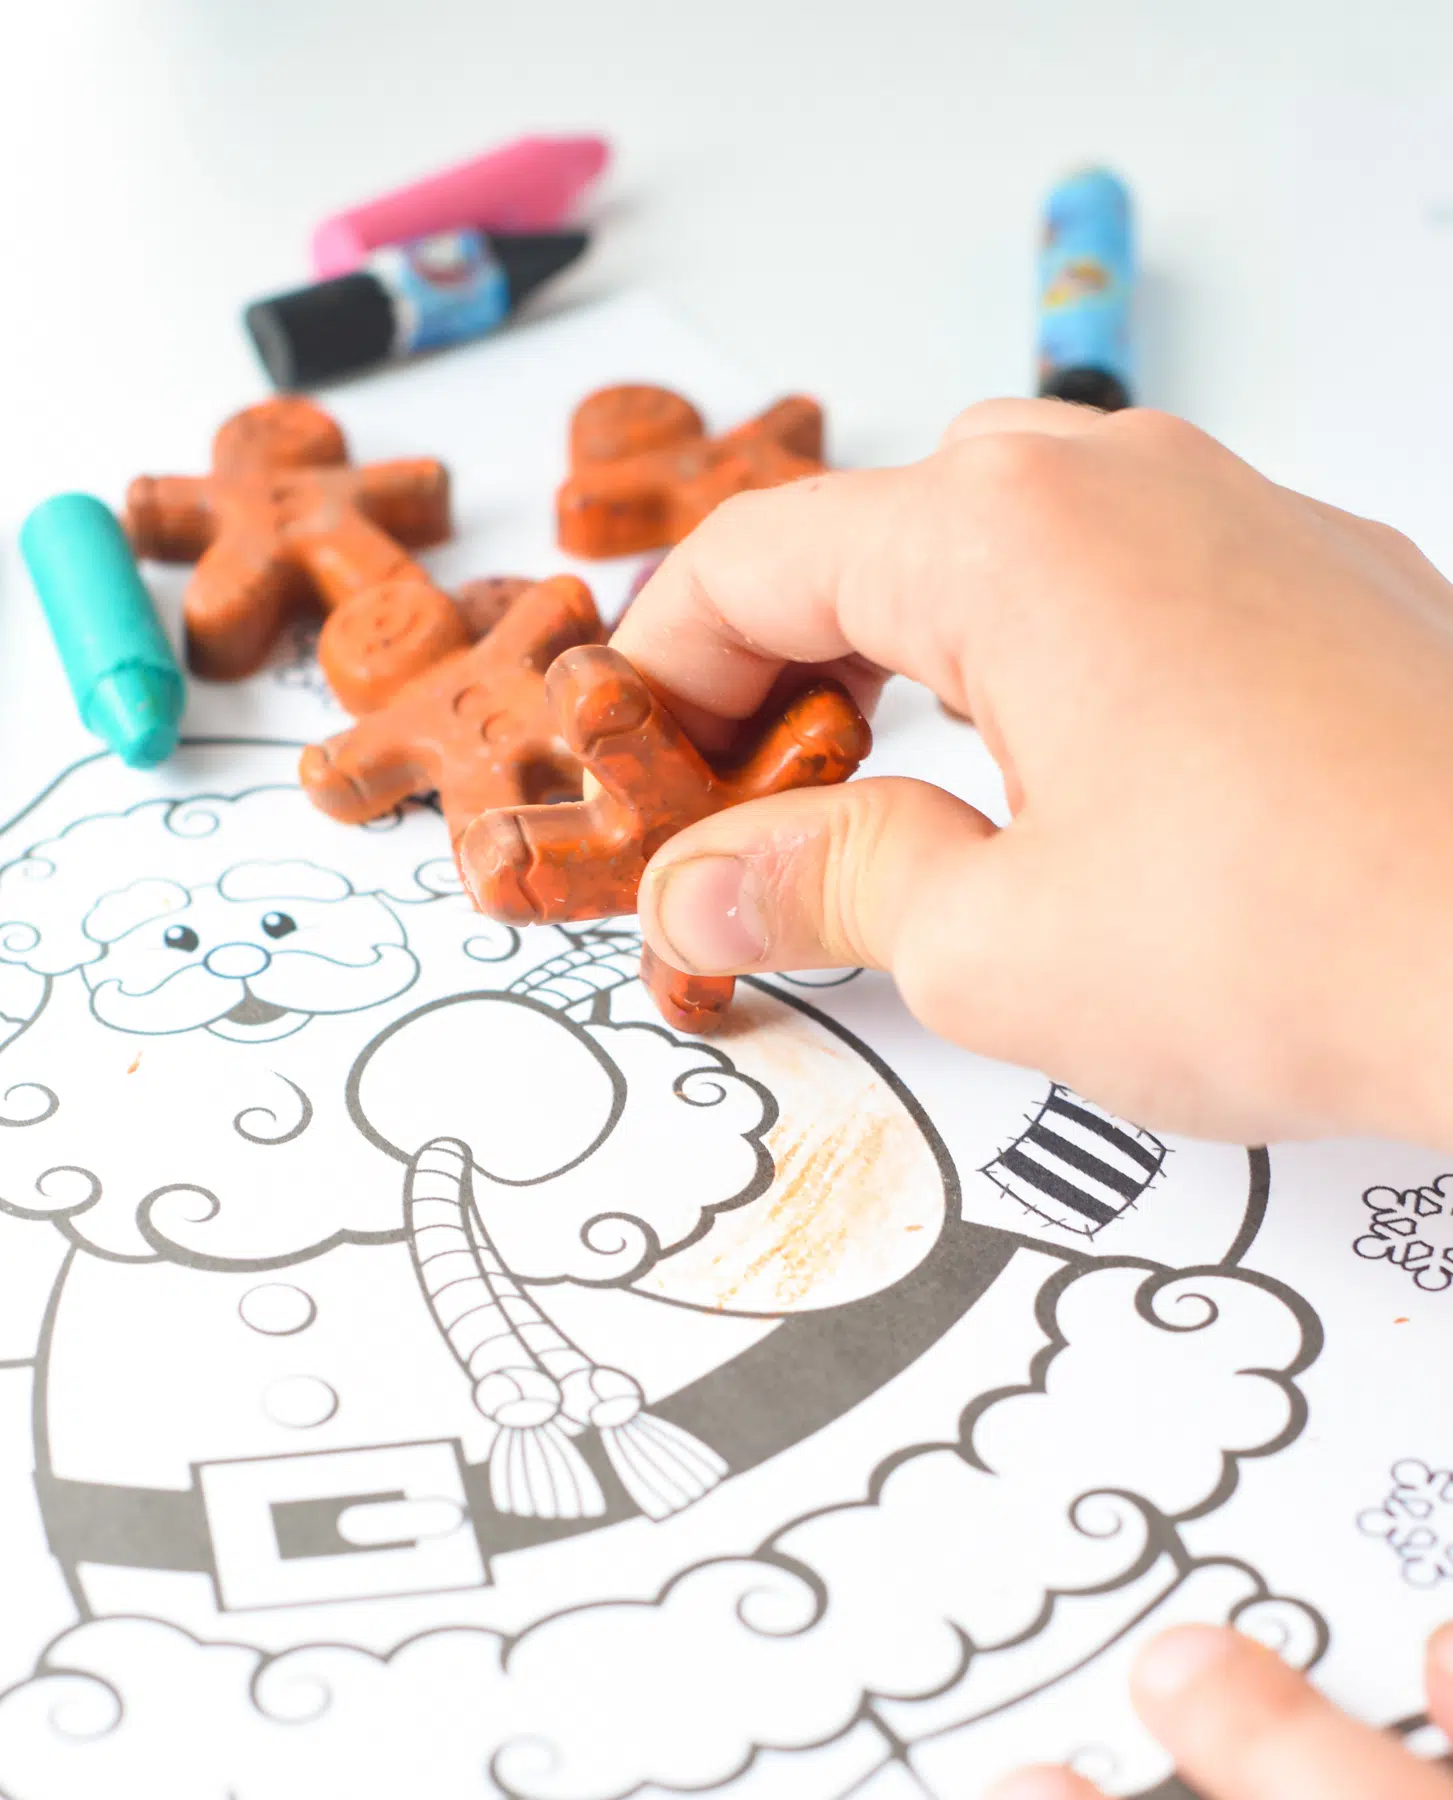
You can use these cute recycled crayons to color any coloring pages for kids or to make homemade gift like:
- fill party favors,
- DIY Christmas socking’s stuffers
Did you enjoy this crayons recycling activity? Share a comment or review below
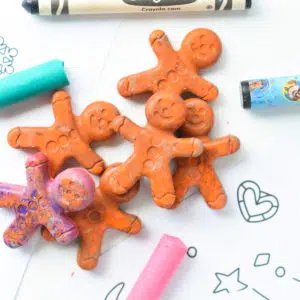
DIY Crayons
Learn how to make homemade crayons by recycling your old broken Crayola crayons.
Equipment
- Silicone Mold
- Sharp knife
- Chopping board
Materials
- 1 batch Broken Crayons
Instructions
- Preheat oven to 200°F (130°C). Place your silicone mold on baking sheets. Set aside.
- Carefully remove all the paper around your crayons. Recycle paper and sort out the crayons pieces by colors. You don't have to be too accurate. We mixed brown and red, purple with pink, for example. It depends if you want to make single-color crayons or fun multicolors ones.
- Place the crayons on a chopping board and cut them into tiny pieces with a sharp knife – watch my picture above for visual help.
- Fill the silicone molds with the crayons pieces until the molds are full up to the top.
- Bake at 130°F for about 30 minutes or until the crayons pieces are fully melted.
- Remove the baking sheets from the oven and let the silicone mold on the baking sheets cool down.
- When the crayons cool down, they solidify into a new batch of crayons.
- After a few hours, you can push out the new crayons from their mold and use them for a coloring activity.
